Capturing an Eclipse with Your Smartphone
Learn how to photograph an eclipse with your smartphone by following essential tips on solar filters, manual settings, zoom management, and stability for stunning images.
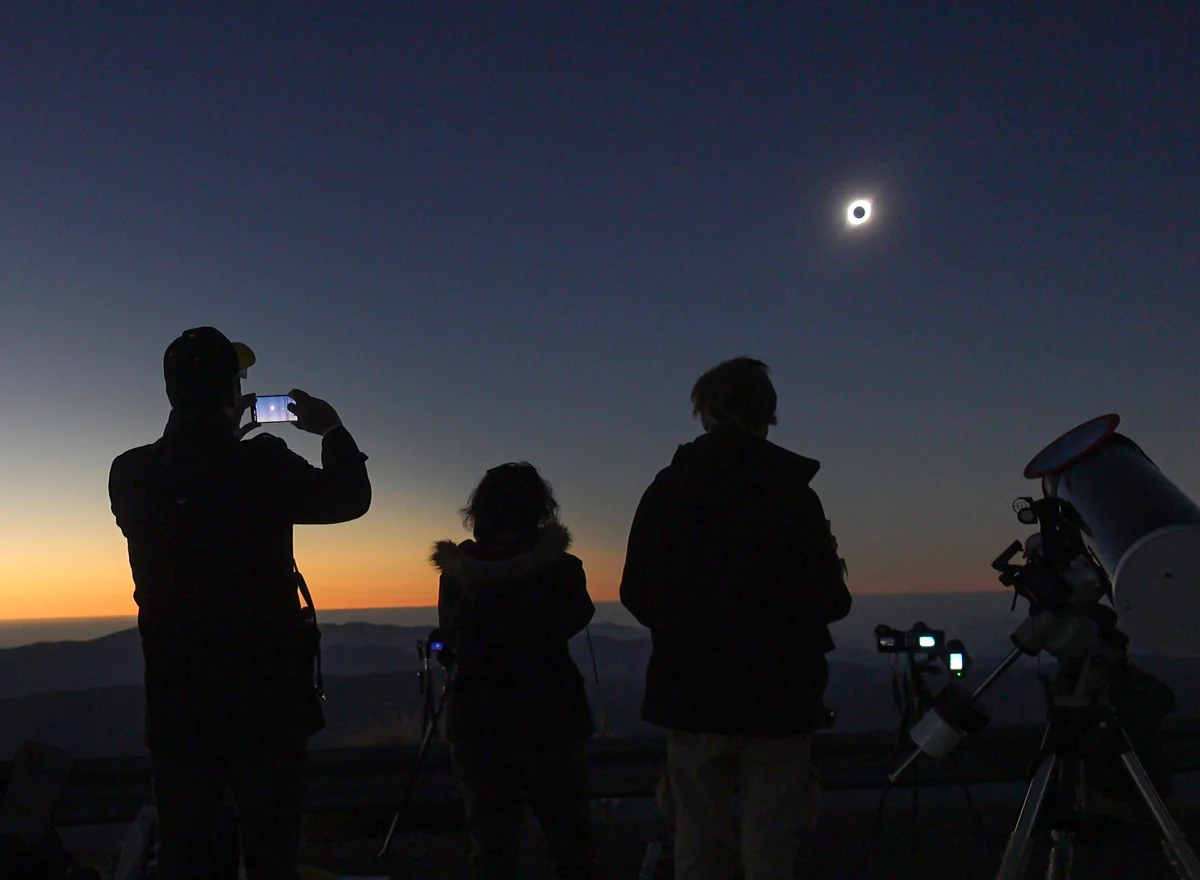
Photographing an eclipse using a smartphone is accessible to everyone, provided certain precautions are taken. Key considerations include solar filters, manual settings, zoom management, and stability. Here are essential tips to help you capture stunning images, whether you are witnessing a partial or total eclipse.
On the day of the eclipse, many will want to document this extraordinary event. For those in France, this will involve a partial solar eclipse. Practicing a few days in advance on the non-eclipsed sun is highly advisable. The technical aspects of taking a photo are the same, regardless of whether the moon obscures our star.
An Essential Requirement: Filtering
Just as your eyes need protection, your smartphone must also be equipped with a solar filter when photographing the sun.
While briefly pointing your device at the sun may not generally harm the sensor, during an eclipse, the smartphone will often be directed towards the sun for several minutes. Without a filter, this prolonged exposure can lead to overheating and, in some cases, damage to the camera module.
Moreover, it is impossible to achieve a correctly exposed image of the solar surface without a filter.
There are no solar filters specifically designed for smartphones. The simplest solution is to sacrifice a pair of cardboard "eclipse" glasses: cut out the filter and carefully attach it in front of the lens using tape or rubber bands.
Zooming… But Not Too Much
You will naturally want to zoom in as much as possible on the sun. However, be cautious: beyond a certain zoom level, your smartphone switches from optical zoom to digital zoom, which merely crops the image. Once this threshold is reached, further zooming does not enhance resolution.
Most smartphones offer optical zoom capabilities ranging from 3× to 5×. Beyond that, the device typically resorts to image interpolation, often supported by artificial intelligence, to provide zoom levels from 10× to 30× or more. Depending on the model, this feature may sometimes be disabled in the camera app settings.
That said, some smartphones now feature sensors of 50 megapixels or more. Therefore, pushing the zoom to 10× may be worthwhile, even if you need to crop later. During a partial eclipse, a properly adjusted exposure time can result in a well-exposed sun against a nearly black sky.
In photography, it's often more effective to think in terms of equivalent focal length. The main lens of a smartphone typically corresponds to an equivalent of 24 mm. At this focal length, the sun appears tiny. Conversely, with a 10× zoom (approximately 240 mm in full-frame equivalent), it starts to take up a significant portion of the image, representing about one-tenth of the frame's height.
Stabilizing
A tripod is highly recommended for photographing the sun. While not essential for partial phases, it greatly facilitates adjustments and enhances image sharpness.
Given the low weight of a smartphone, an entry-level tripod is entirely sufficient. You will just need to add a specific smartphone holder, an accessory available for a modest price.
Adjusting Your Smartphone
On many smartphones, the solar filter in front of the lens can disrupt automatic settings. For instance, the device may switch to macro mode, continuously seek focus, or activate the flash, mistakenly believing it is capturing a very dark scene.
It is advisable to manually select the camera module in use and activate manual mode, often referred to as Pro Mode. This allows you to adjust the ISO sensitivity and exposure time yourself.
Start by selecting a low sensitivity (ISO 50 or 100), then adjust the exposure time until you achieve a well-exposed solar surface. A few practice shots before the big day will help you find the settings that work best for your smartphone.
The Case of a Total Eclipse
Those fortunate enough to observe a total eclipse from Spain will need to adopt a different strategy.
During totality, the goal shifts from merely capturing the solar disk to also including the surrounding corona. Therefore, it is advisable not to push the zoom to its maximum. A magnification of 3× to 4× often strikes a good balance and allows for the inclusion of a foreground, significantly enhancing the impact of the image.
As totality approaches, the atmosphere takes on a twilight quality. The smartphone’s automatic settings will attempt to brighten the scene, which could result in an image that is too bright. The lunar disk may lose all contrast, causing the photograph to stray from a true eclipse image.
Thus, it is better to work in manual mode and slightly underexpose the images. You can take a series of photos with exposure times ranging from approximately 1/50 s to 1 second. This technique will help reveal both the details of the inner corona and the faint extensions.
The best images can then be combined to enhance their dynamic range. Many software options are available for this processing, including Photomatix, Photoshop, or the free solution, Hugin.
Finally, you are welcome to send your best images to [email protected] for a chance to be published in the magazine.