Getting Started with Astrophotography: A Beginner's Guide
Astrophotography presents unique challenges, but with the right techniques and settings, you can capture stunning images of the night sky. Learn the basics of exposure, aperture, and focusing for successful astrophotography.
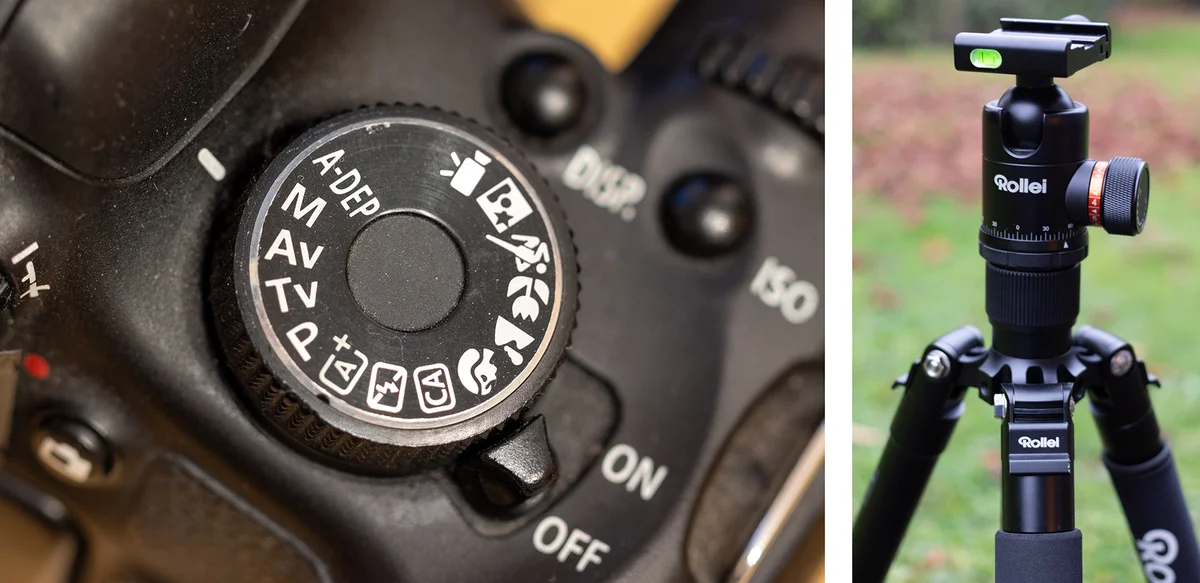
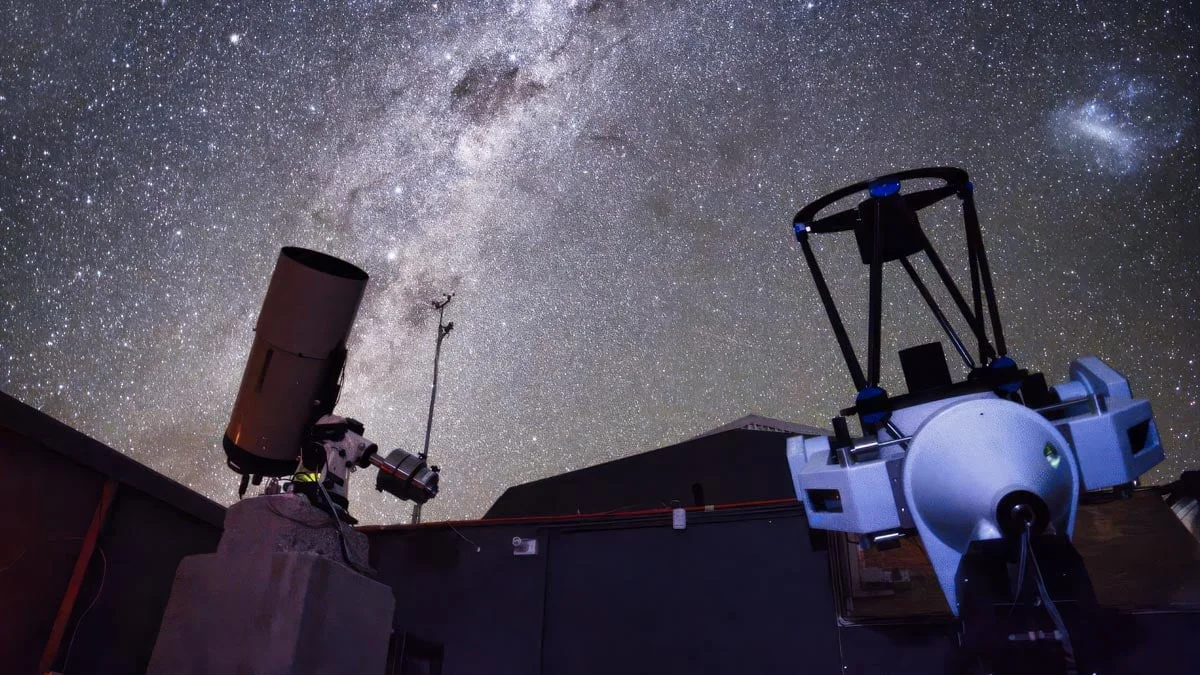
Astrophotography presents unique challenges for photographers, primarily because it involves capturing light in some of the least favorable conditions. Ideally, one should be in complete darkness to photograph celestial objects that are often faint and difficult to discern.
However, it’s important to note that embarking on this hobby can be quite costly. Once you dive into astrophotography, expenses for cameras, mounts, telescopes, and software can quickly accumulate to several thousand euros. Fortunately, even with basic camera equipment commonly used during the day, it is possible to capture stunning images of the night sky.
Before venturing into astrophotography, it is essential to be comfortable with your camera’s settings in daylight. Understanding the functions of aperture, exposure time, and ISO is crucial, but I won’t delve into those technicalities here.
Earth's Rotation
As you spend more time observing the night sky, you may notice the apparent movement of stars. In reality, the stars remain stationary while the Earth rotates on its axis once every 24 hours. This beautiful phenomenon can complicate photography; long exposure times can transform stars from points into streaks.
To counteract this, specialized camera mounts known as star trackers or equatorial mounts can compensate for the Earth's rotation. However, for beginners, there is a simpler method: adjusting the exposure time to keep the stars as point sources.
The 500 Rule is a helpful guideline for calculating the maximum exposure time that allows stars to remain point-like. For a full-frame camera, divide 500 by the focal length of your lens. For an APS-C camera, use 300 instead.
For instance, if you have a 50 mm lens on an APS-C camera, the calculation is 300 / 50 = 6, meaning the maximum exposure time is 6 seconds. With a full-frame camera, it’s 500 / 50 = 10 seconds. Keep in mind that these are approximate values; if you zoom in on your images, you may still see stars that are not perfectly round, necessitating a further reduction in exposure time.
This calculation also highlights that using a shorter focal length allows for longer exposure times, enabling you to gather more light. Therefore, starting your astrophotography journey with wide-angle lenses is advisable.
Aperture and ISO Settings
Once you’ve set your exposure time, the next factors to consider are aperture and ISO. As previously mentioned, the goal of astrophotography is to collect as much light as possible, so select the lowest f-stop your lens can offer.
ISO settings can be a bit more complex. Higher ISO values amplify the sensor signal, resulting in brighter images, but they also increase noise. My experience with Canon cameras suggests a good range is between 1600 and 3200. Other brands may behave differently, so it’s beneficial to do some research. A word of caution: searching for "Astrophotography and ISO" can lead you to forums filled with intense debates. Don’t be discouraged; experimentation often trumps theory.
Focusing at Night
At night, your camera’s autofocus may become ineffective. Instead, utilize the live view feature and focus manually. Find a bright star and adjust the focus until the star appears as small as possible. Additionally, using a tripod is essential for stability. To avoid camera shake, consider using the camera's self-timer or a remote shutter release. Many modern cameras can also be controlled via smartphone.
Summary
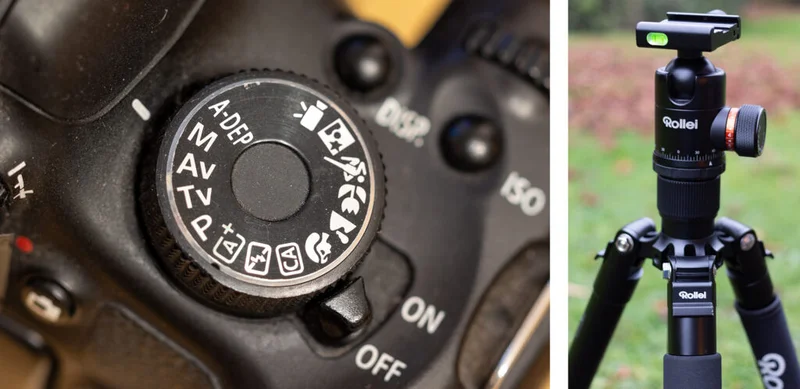
- Use the M mode on your camera.
- Determine exposure time using the 500 Rule.
- Select the lowest f-stop available.
- Set ISO between 1600 and 3200.
- Focus manually.
- A tripod is essential; consider a self-timer or remote shutter release.
Now, all that’s left is to wait for a clear night. One last tip: try to escape light pollution by heading to rural areas or finding a dark spot. This map can assist you: www.lightpollutionmap.info
Enjoy your first steps into astrophotography, and may you have clear skies!