A Comprehensive Guide to Choosing a Telescope for Astrophotography
Astrophotography combines the beauty of the starry sky with optical technology. This guide explores how to choose the right telescope for capturing stunning images of celestial wonders.
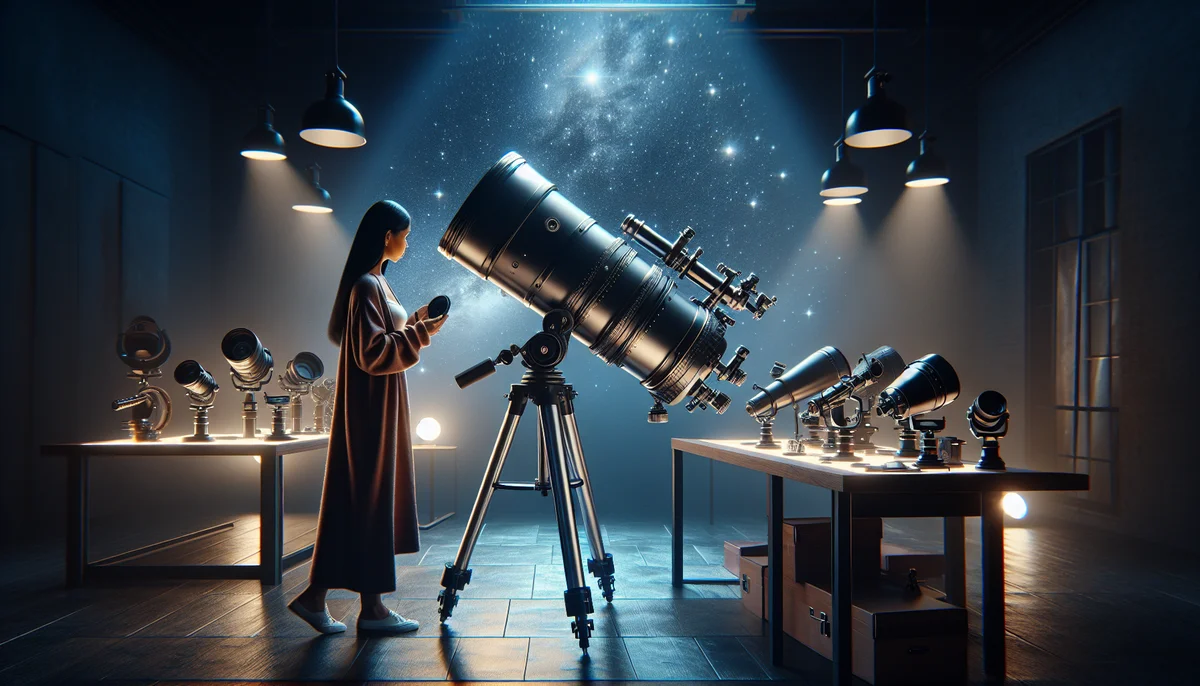
Astrophotography merges the awe of the night sky with the intricacies of optical equipment. If you’re pondering which telescope will best help you capture sharp images of galaxies, nebulae, or planets, or what criteria to prioritize for successful shots, this guide will assist you in selecting the ideal instrument to unveil the universe's wonders.
Key Technical Criteria for Astrophotography
Understanding the technical parameters is crucial before investing in a telescope for astrophotography. Features such as aperture, focal length, and stability significantly affect the quality of the images you will obtain.
Aperture and Objective Diameter
The aperture of a telescope refers to the diameter of its main lens or mirror, and it plays a vital role in light collection. A larger diameter allows the instrument to gather more photons, resulting in brighter images even from distant celestial objects. For instance, a telescope with a 200 mm aperture performs significantly better than an 80 mm model when capturing details in nebulae or star clusters.
Aperture also influences resolution, which is the ability to distinguish fine details in celestial phenomena. To photograph distant galaxies like the famous M104 (the Sombrero Galaxy), a larger diameter is essential. However, larger apertures typically mean bulkier and more expensive equipment, highlighting the need to find a balance that suits your use and budget.
Focal Length and Field of View
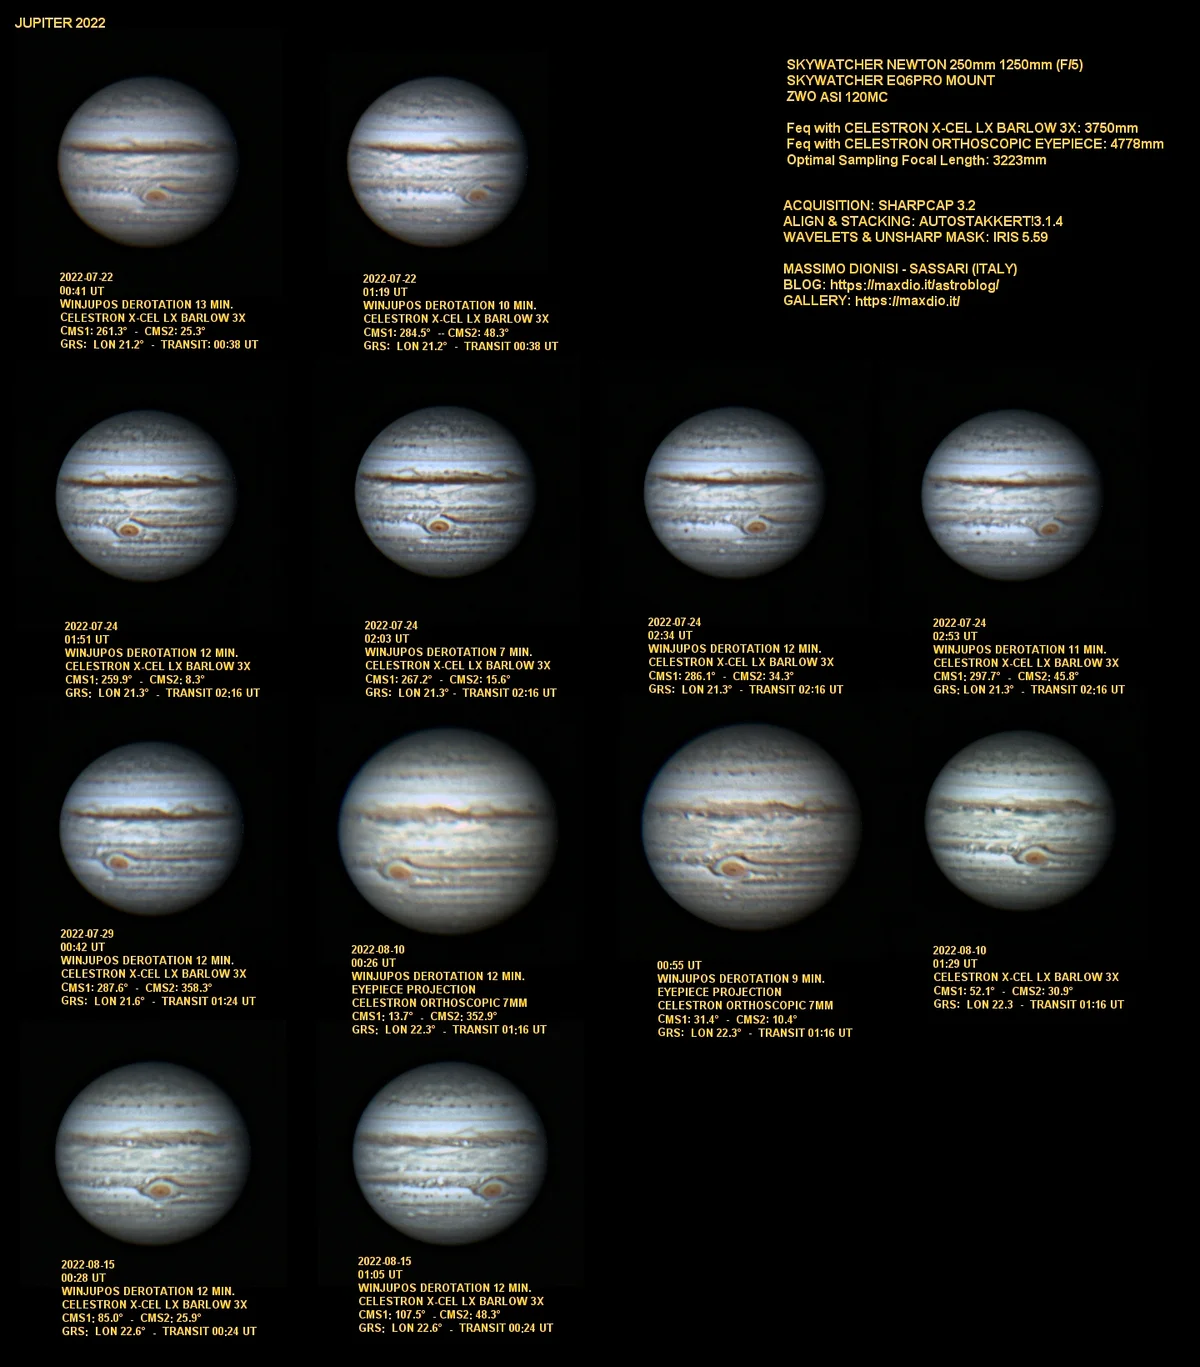
The focal length of a telescope determines its magnification and field of view. A long focal length, such as 1000 mm or more, allows for detailed images of specific objects like Jupiter or Saturn. In contrast, a shorter focal length provides a wider field, ideal for capturing expansive celestial panoramas, such as the Milky Way or star clusters like the Pleiades.
For beginners in astrophotography, a telescope with a moderate focal length and a large field of view simplifies the search and capture of objects while minimizing blur effects. Many enthusiasts opt to equip their telescopes with cameras featuring APS-C or Full Frame sensors, which will also affect the visible field depending on their size.
Mount and Stability
Often overlooked, the mount is crucial for ensuring stability and precise tracking of your telescope. Astrophotography typically involves long exposures, sometimes lasting several minutes, requiring a motorized and well-balanced mount to compensate for Earth's rotation.
There are two main types of mounts: equatorial and alt-azimuth. The motorized equatorial mount is favored by astrophotographers because it accurately follows the movement of stars on a single axis, allowing for sharp images without trailing. For example, capturing details of a nebula like the Orion Nebula necessitates stable tracking.
Which Type of Telescope is Best?
The type of telescope chosen is pivotal depending on the astrophotography you wish to pursue. Each configuration has its strengths and weaknesses, with some models better suited for deep-sky objects and others for planetary imaging.
Reflector vs. Refractor
Refractor telescopes use lenses to focus light and are often preferred for planetary and lunar photography due to their sharp and high-contrast images, free from diffraction issues. For example, an apochromatic refractor is perfect for capturing lunar craters or the rings of Saturn with precision.
Reflector telescopes utilize mirrors to gather light, allowing for larger apertures at a lower cost. This type is commonly chosen for deep-sky objects like galaxies and nebulae. A 200 mm Newtonian reflector, for instance, excels in revealing the beauty of the Andromeda Galaxy (M31).
Catadioptric Telescopes
Combining lenses and mirrors, catadioptric telescopes offer a compact instrument with good performance. Schmidt-Cassegrain and Maksutov designs are particularly popular among amateur astrophotographers, as they provide a long focal length in a reduced size. They are suitable for both planetary observation and deep-sky imaging, making the equipment versatile.
For example, an 8-inch Schmidt-Cassegrain is a balanced choice for photographing both the Cone Nebula and details of Jupiter. Additionally, their sealed design minimizes maintenance and dust entry.
Advantages of Compact Optical Tubes
Compact tubes enhance mobility, an important factor for avoiding light pollution in urban areas. They are also easier to mount on portable mounts, allowing for equipment transport during trips or excursions to darker locations, such as national parks or mountainous regions.
In astrophotography, this portability can be crucial for capturing rare phenomena, such as meteor showers, freely. Moreover, they are often simpler to set up, which is valuable for astronomy beginners.
Adapting Your Telescope for Imaging
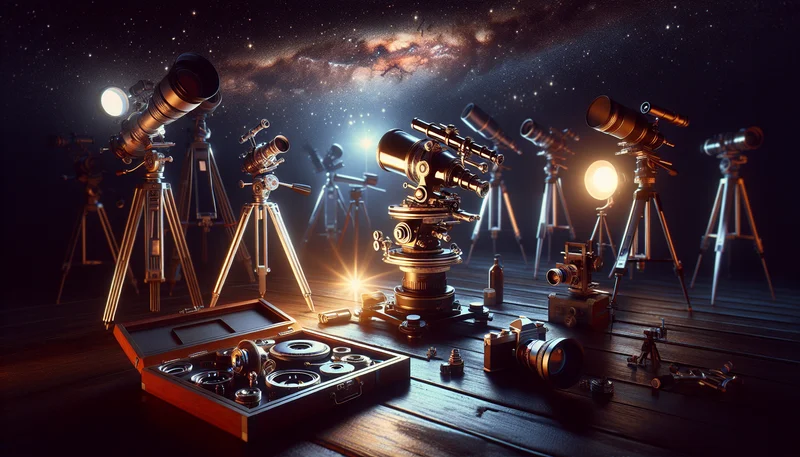
Astrophotography involves more than just selecting a good telescope; it also requires adapting your equipment for photography and smartly equipping yourself. Several components complement your setup to optimize image quality.
Choosing the Camera
The camera captures the image. Astrophotography-specific cameras are often CCD or CMOS types, designed for low-light sensitivity and equipped with cooling options to reduce electronic noise.
However, many beginners start with a digital single-lens reflex (DSLR) or mirrorless camera. For example, a Canon EOS or Sony Alpha provides good image quality and versatility for newcomers. For enthusiasts, cameras from brands like ZWO offer advanced features and excellent performance in deep-sky imaging.
Essential Accessories
To achieve successful shots, several accessories are crucial: an adapter ring to attach the camera to the telescope, a filter wheel for quickly changing filters based on the target or light pollution, and a field flattener to minimize distortions at the edges of the field.
Using broadband or light pollution filters significantly enhances image quality, especially in urban environments. For instance, capturing the Rosette Nebula near a city can greatly benefit from a specific filter.
Autoguiding Systems
Autoguiding is a technique that employs a small camera and software to automatically correct tracking errors of the mount. This system is especially useful during long exposures necessary to reveal distant celestial objects in fine detail.
With autoguiding, amateurs can achieve several minutes of exposure without star trailing, optimizing sharpness without visible streaks. This step is often essential for photographing deep-sky objects like the Large Magellanic Cloud.
Budget Considerations for Getting Started
Investing in a telescope for astrophotography can vary greatly depending on your expectations and ambitions. It is vital to establish a realistic budget based on desired equipment and necessary accessories.
Entry-Level Options
For under 500 euros, you can acquire compact telescopes with 70 to 90 mm apertures, typically refractors or small scopes. These instruments allow for lunar photography, constellation observation, or simple planetary encounters. For example, a Sky-Watcher refractor in this range is suitable for beginners.
Paired with a consumer digital camera, this equipment offers an interesting first experience without a significant financial burden.
Intermediate Equipment
In the range of 1000 to 2500 euros, quality significantly improves with apertures of 130 to 200 mm and motorized equatorial mounts. This category enables access to imaging nebulae, galaxies, and globular clusters with much greater detail. Some kits paired with dedicated cameras like those from ZWO are highly sought after.
Compact catadioptric telescopes are also available, perfect for versatility and easy transport, broadening imaging possibilities in various contexts.
High-End Gear
Beyond 3000 euros, amateur astronomers can find professional-grade equipment: large primary mirror telescopes, cooled cameras, and high-precision automated mounts. This level of investment opens doors to capturing almost scientific-quality images, revealing fine details as seen in photographs of supernovae or distant galaxies.
This tier also allows for advanced image processing software use to enhance the captured photos.
Maintaining and Optimizing Your Telescope for Astrophotography
Once equipped, it is essential to properly maintain the telescope and ensure regular adjustments to sustain the quality of the equipment and the accuracy of observations and imaging.
Cleaning and Maintenance
Dust, humidity, or smudges on optics can quickly degrade image quality. Therefore, cleaning lenses and mirrors with appropriate products and gentle techniques is crucial. For instance, a simple antistatic brush can effectively remove dust without damaging sensitive components.
Protecting the equipment with caps when not in use and regularly checking seal conditions to prevent moisture infiltration is also advisable.
Regular Adjustments
Optical alignments should be revisited frequently, particularly the collimation of reflector telescopes, which ensures mirrors are correctly positioned to avoid blurry images. Poorly executed collimation can ruin a photographic session.
Additionally, recalibrating tracking systems and updating autoguiding setups can optimize long exposures and nighttime tracking. For beginners, online tutorials, such as those offered in this comprehensive guide, are invaluable.
Tips for Prolonging Equipment Lifespan
To extend your telescope's life, consider storing it in a controlled environment, away from extreme temperatures and humidity. Regularly inspect and replace worn-out parts, and familiarize yourself with the specific needs of your telescope model to ensure optimal performance.
By following these guidelines, you can enhance your astrophotography experience and capture the stunning beauty of the cosmos effectively.