A Beginner's Guide to Observing Nebulae with a Telescope
Explore the night sky and discover how to observe nebulae with a telescope. This guide covers essential equipment, techniques, and tips for amateur astronomers.
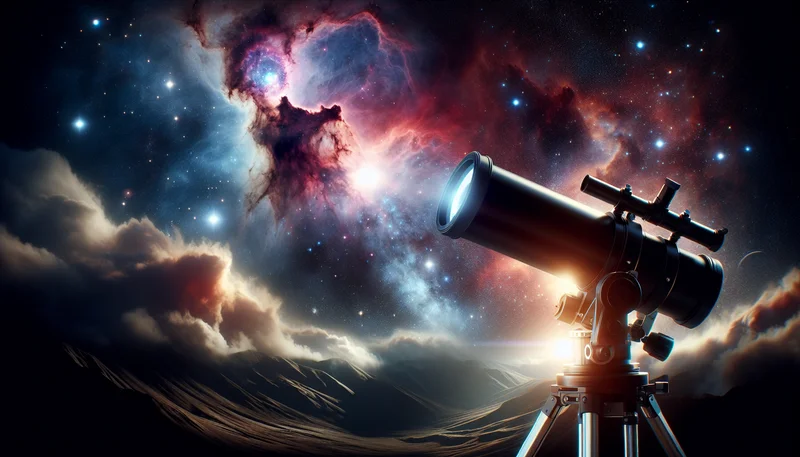
Have you ever gazed up at the night sky, wondering how to identify the vast and mysterious nebulae scattered across it? Perhaps you are curious about the equipment needed to fully appreciate their beauty. Dive into the fascinating realm where stars are born and luminous gas clouds form astonishing shapes in the darkness. This guide will help you explore these celestial wonders using a telescope and deepen your passion for astronomy.
Choosing the Right Equipment for Nebula Observation
To truly admire nebulae in all their glory, selecting the right equipment is crucial. From telescopes to essential accessories, every detail plays a role in enhancing your observational experience. Here, we will explore the key components of your astronomical kit.
Suitable Telescopes
Nebulae, often vast yet faint, require instruments capable of gathering as much light as possible. Reflector telescopes, particularly Newtonian models with larger apertures, are particularly well-suited for this task. For instance, a telescope with a diameter of 150 mm or more can reveal challenging targets like the Orion Nebula (M42) or the Cone Nebula.
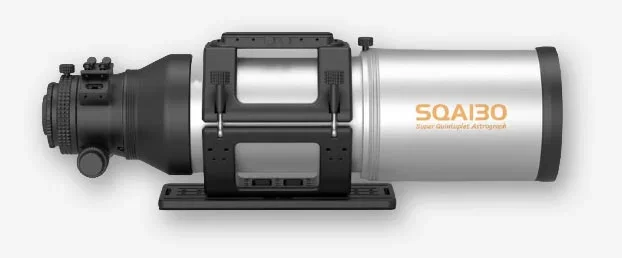
Dobsonian telescopes offer excellent value and ease of use, making them ideal for beginners without breaking the bank. However, those who wish to travel or observe from a balcony may prefer a high-quality refractor, which, despite a smaller aperture, can still unveil beautiful structures such as the Lyra Nebula (M57).
The Importance of Eyepieces
Eyepieces are essential for adjusting magnification and field of view. When observing nebulae, it is advisable to choose eyepieces that provide low to medium magnification (between 40x and 100x) to maintain a wide and bright field, allowing you to appreciate the entirety of the formations.
A wide-field eyepiece will make it easier to locate these faint objects in the sky and enhance the comfort of your observation. Investing in a high-quality eyepiece with anti-reflective coatings is also wise, as it maximizes light transmission, which is critical when observing dim regions like certain diffuse or planetary nebulae.
Essential Accessories
Several accessories can significantly improve the quality of your observations. Nebula filters, such as UHC or OIII filters, enhance contrast by filtering out stray light and allowing only the wavelengths emitted by the nebulae to pass through, making details more visible. For example, using an OIII filter can make the Ring Nebula (M57) much more apparent.
A red dot finder or polar finder scope can assist in aligning and locating objects that are often hard to detect with the naked eye. Additionally, a stable tripod or a robust equatorial mount will minimize vibrations and provide precise tracking, which is crucial for long exposures if you are venturing into astrophotography.
Nebulae Accessible to Amateur Observers
The night sky is filled with numerous nebulae that are accessible to amateur astronomers, whether for simple visual observation or for an introduction to astrophotography. Let’s explore the main types along with some concrete examples.
Popular Diffuse Nebulae
Diffuse nebulae are clouds of gas and dust illuminated by nearby stars. Among the most famous is the Orion Nebula (M42), a must-see that is easily visible even in urban areas with a good telescope. It offers a rich display of details with its swirling red and blue gas.
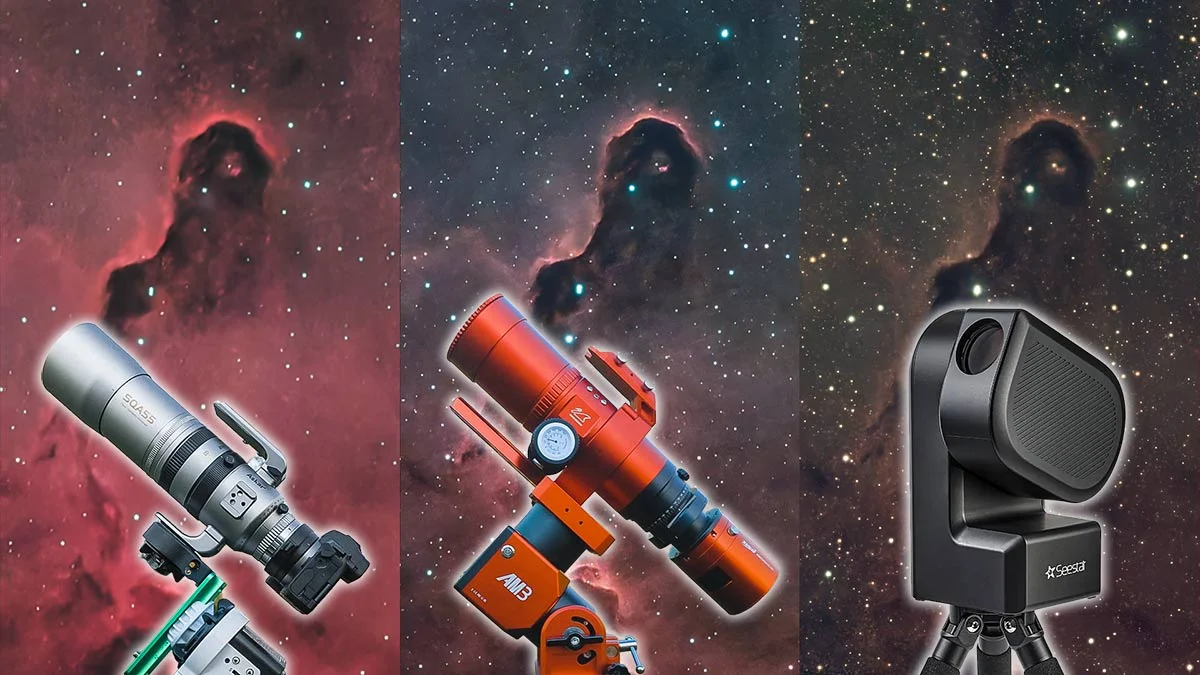
The Horsehead Nebula, though a bit more challenging to access, can be spotted in the Orion constellation with a telescope equipped with a narrowband filter. The Cone Nebula is another example that can be observed by those under clear skies.
Easy Planetary Nebulae
Planetary nebulae are the remnants of stars at the end of their life cycles, shedding their outer layers. They often exhibit a round shape and concentrated brightness. The Ring Nebula (M57) in the Lyra constellation is an excellent target for beginners. It can be viewed with an 80 mm refractor, revealing a distinct luminous ring at medium magnification.
The Dumbbell Nebula (M27) also offers a fascinating spectacle with its well-defined contours. Although smaller, planetary nebulae are often brighter than diffuse ones, making their observation gratifying and straightforward.
Messier Objects
The Messier catalog is an essential reference for deep-sky objects visible with small instruments. Among its entries are several nebulae, such as M8 (Lagoon Nebula) and M20 (Trifid Nebula) in the Sagittarius constellation, which can be seen from dark observation sites. The Orion Nebula (M42) is the brightest and most spectacular in the catalog.
These objects are frequently included in amateur observation sessions and provide an excellent learning ground. For further insights into these subjects, the guide "Which Nebulae to See with a Telescope" offers a great introduction.
Preparing for an Observation Session
Proper preparation is key to fully enjoying your nebula observations. Choosing the right location, understanding the weather, and utilizing celestial navigation tools all play significant roles. Here’s how to set yourself up for success.
Selecting a Good Sky and Quiet Location
Observing nebulae requires a dark sky, far from urban lights. Rural areas, mountains, or national parks often provide optimal conditions. For instance, amateur observatories located in rural zones benefit from enhanced atmospheric transparency.
A calm and wind-sheltered spot also improves telescope stability, essential for a clear image. Bringing a comfortable chair and warm clothing completes your preparation for a successful night.
Understanding Weather and Light Pollution
Sky transparency is crucial. Cloudless nights with low humidity favor visibility of details. Numerous websites and specialized applications provide astronomy-friendly weather forecasts, helping you avoid evenings with poor visibility.
Light pollution is the nemesis of low-light observations. By consulting interactive maps like the Light Pollution Map, you can identify the darkest areas near you, maximizing your chances of clearly observing nebulae.
Utilizing Applications and Star Charts
Mobile applications like Stellarium or SkySafari are invaluable tools for precisely locating nebulae and understanding their positions in the sky. They allow you to plan your session according to the season and visibility times.
Paper star charts remain useful for purists or in case of battery failure. They provide a comprehensive view of the constellations and celestial objects available, aiding in the recognition of reference stars around the nebulae.
Techniques for Enhanced Nebula Observation
Improving the quality of your observations can be achieved through a few simple and effective techniques. Adapting your eyes to the dark, mastering the use of filters, and exploring astrophotography can enrich your experience.
Dark Adaptation Methods
Night vision is sensitive to light. It is recommended to avoid bright white light before and during observations. Instead, use a red light to preserve your eyes' sensitivity. Complete adaptation can take up to 30 minutes, during which your ability to perceive nebulae improves gradually.
Focusing directly on a bright object can diminish your ability to detect faint luminosity. The technique of averted vision, which involves looking slightly away from the nebula instead of directly at it, often helps in better discerning its outlines.
Filtering and Contrast
Specific filters, such as the OIII filter, isolate certain wavelengths emitted by nebulae, enhancing their contrast against the background sky. This can transform a blurry observation into a well-defined structure. For instance, the Rosette Nebula becomes much more visible with an appropriate filter.
Experimenting with different filters allows you to adapt to atmospheric conditions and local light intensity, making each session unique and rewarding.
Long Exposures and Photography
To capture details invisible to the naked eye, astrophotography using long exposures is an excellent method. By stacking several minutes of exposure, your camera sensor reveals subtle structures within nebulae, such as the filaments of the Crab Nebula.
This technique requires specific equipment, including a motorized mount to track the Earth's rotation. Don’t hesitate to consult specialized tutorials to start your astrophotography journey and enrich your practice.
Tips for Progressing in Observation
Observing nebulae is a passion that develops over time. Keeping an observation journal, joining a community, and experimenting with various approaches are keys to enhancing your skills and enjoyment.
Keeping an Observation Journal
Documenting each outing, including conditions, observed objects, and perceived details, allows you to track your progress and better understand variations caused by weather or equipment. These notes become a valuable testament to your journey as an amateur astronomer.
You may also include sketches or photos taken, which fosters attentive observation and visual memory.
Joining Astronomy Clubs
Local clubs provide a friendly environment to share experiences, discover different instruments, and gain insights from more experienced astronomers. For example, organizations like the French Astronomy Association regularly host collective observation evenings.
These gatherings also offer opportunities to borrow more advanced equipment, such as specialized filters or suitable telescopes, to enhance your discoveries.
Experimenting with Various Instruments and Methods
Transitioning from one telescope to another, trying different focal lengths, or varying filters and observation techniques will help you better understand your preferences and adapt your equipment to your goals. For instance, cer...